
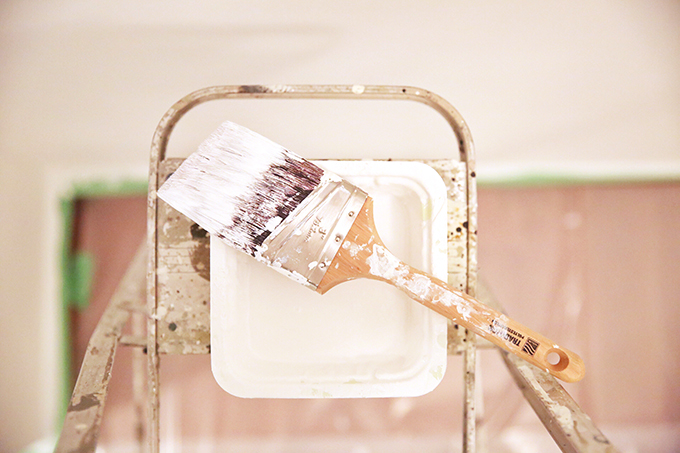
Welcome back, friends! This post officially kicks off our SPACE REFRESH series here at JustineCelina and I’ve never been more excited to publish as post as I am today! If you don’t follow along with my Insta Stories (where I’ve been documenting our Space Refresh BTS for the past 6 months!), you may only vaguely remember that we embarked on a massive space refresh project in August — starting with a with a fresh coat of paint. Due to some furniture delays as we refreshed our Living Room, we finally completed our huge paint project mid February (yes, really — you’ll have to read the post to find out why!). Today I’ve compiled a mega post detailing every step of our Paint Transformation and how you can DIY a professional quality paint job yourself — including the tools you’ll need, tips about paint selection and finish, what to expect when you’re painting over a dark colour, project cost and time involvement. If you love a good before and after, you’ll love today’s post!
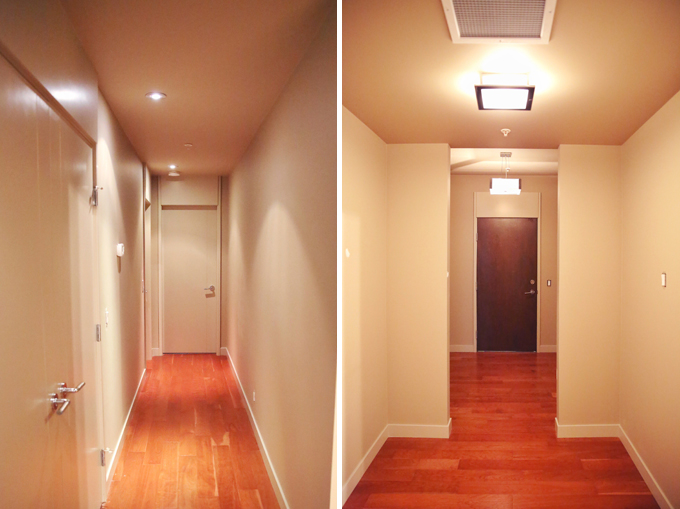
But first, let me bring you up to speed about why we decided to start this huge project in the first place! We purchased our home, a 1500 sq ft apartment in inner city Calgary, from the builder back in 2012. At the time it was very modern compared to everything else on the market, but it was love at first sight! However, as the years passed we grew increasingly tired of the builders greige and the itch to refresh our space struck. Ultimately, in 2017 we decided we’d be here for another few years and there was no time like the present to start creating a our dream space. Initially I had planned to have our apartment professionally painted — that is, until the estimates came back! On average, a professional paint job for our entire home rang in at $2300 (and I was shocked!). I knew we could take the project on ourselves and achieve similar results for a fraction of the cost. Interior design, styling and DIY are huge passions of mine and I’m elated to be sharing more DWELL based content here at JustineCelina this year in our freshly painted space — so come on in!

SPACE REFRESH | PAINT TRANSFORMATION
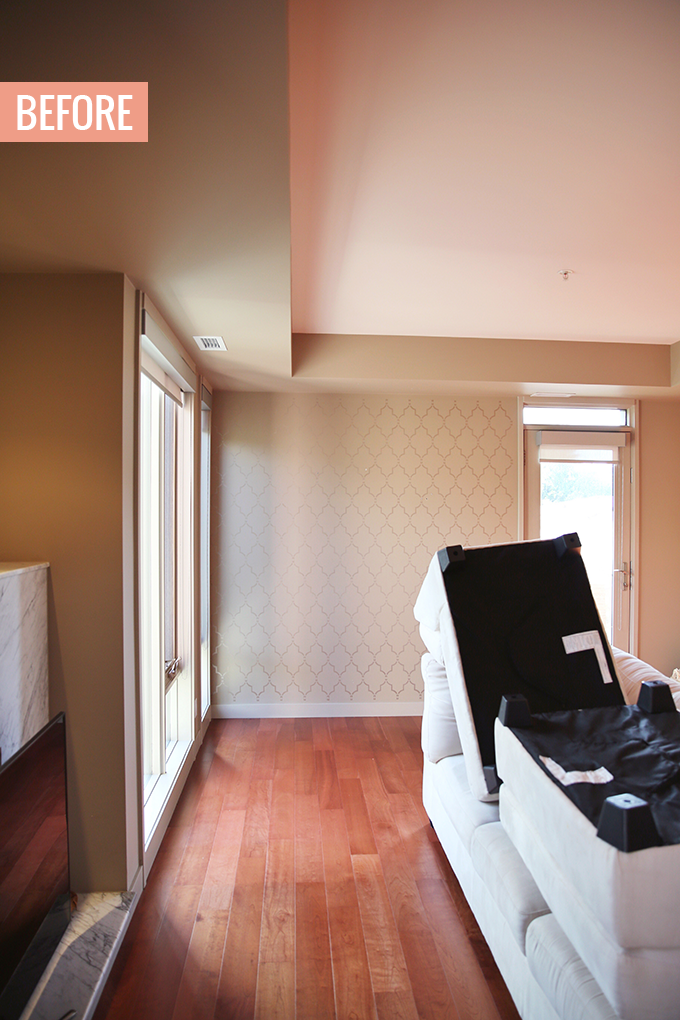
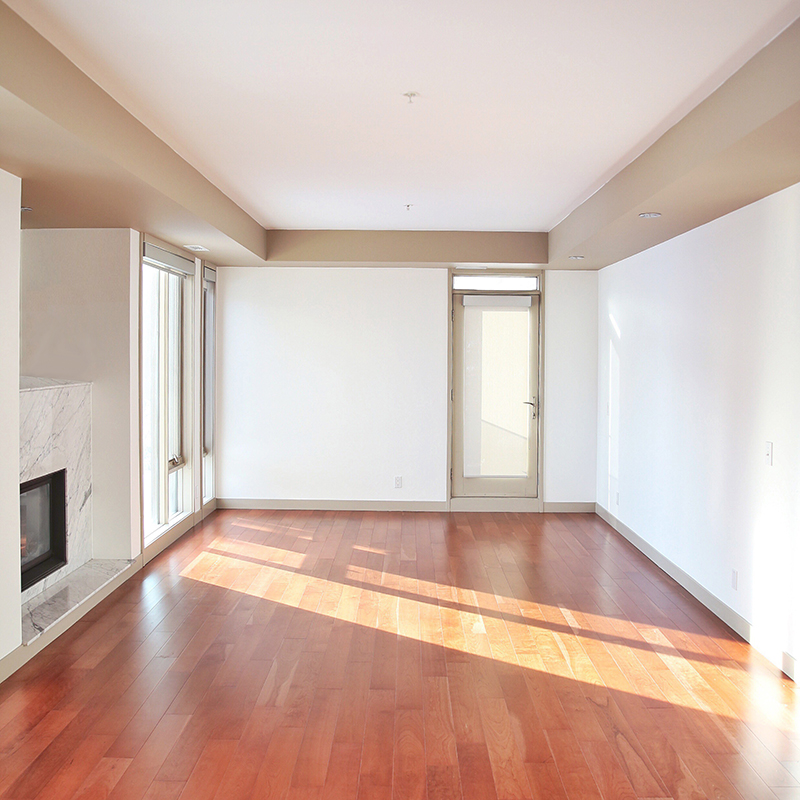
Wow, what a journey this has been. Now that we’ve finally completed this massive project and I’ve washed the paint out of my hair (literally and figuratively) I had a lot of fun looking back on our original space and truly appreciating how far we’ve come!
Inspiration & Paint Selection
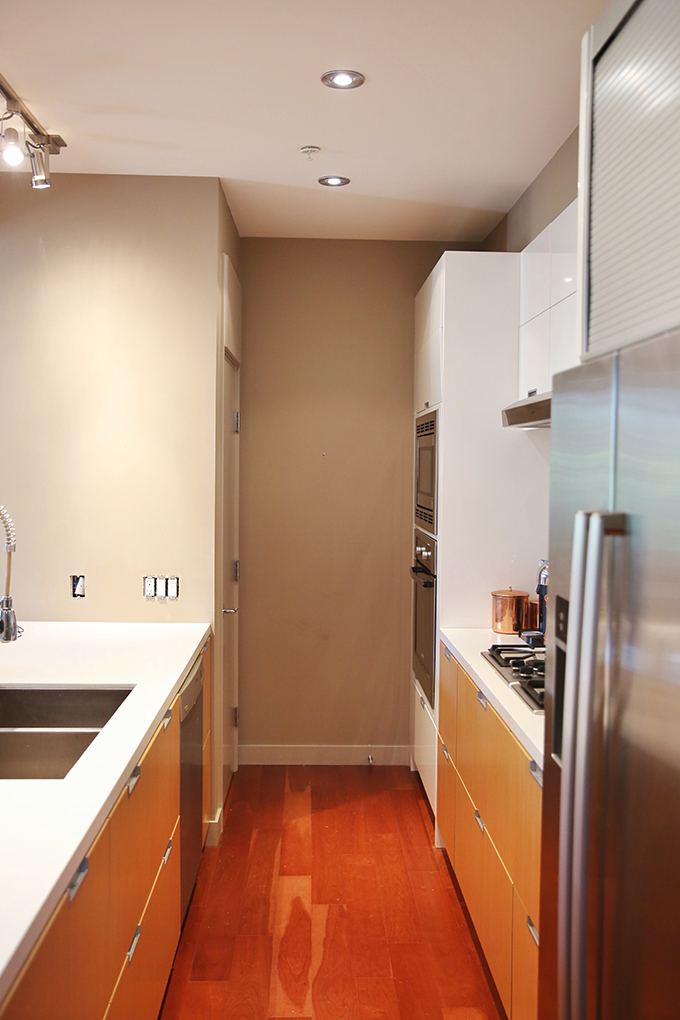
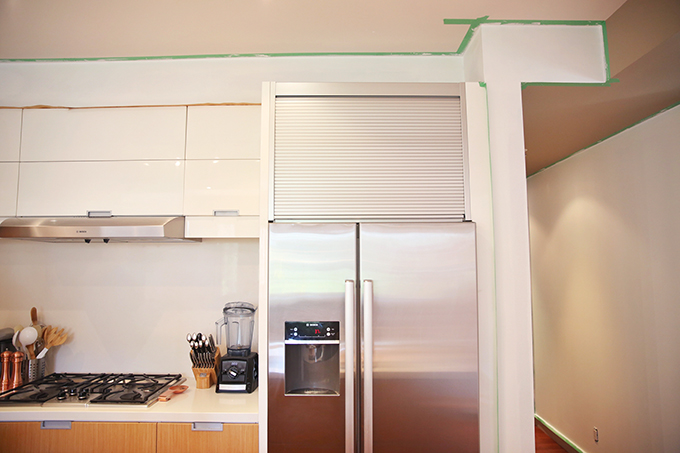
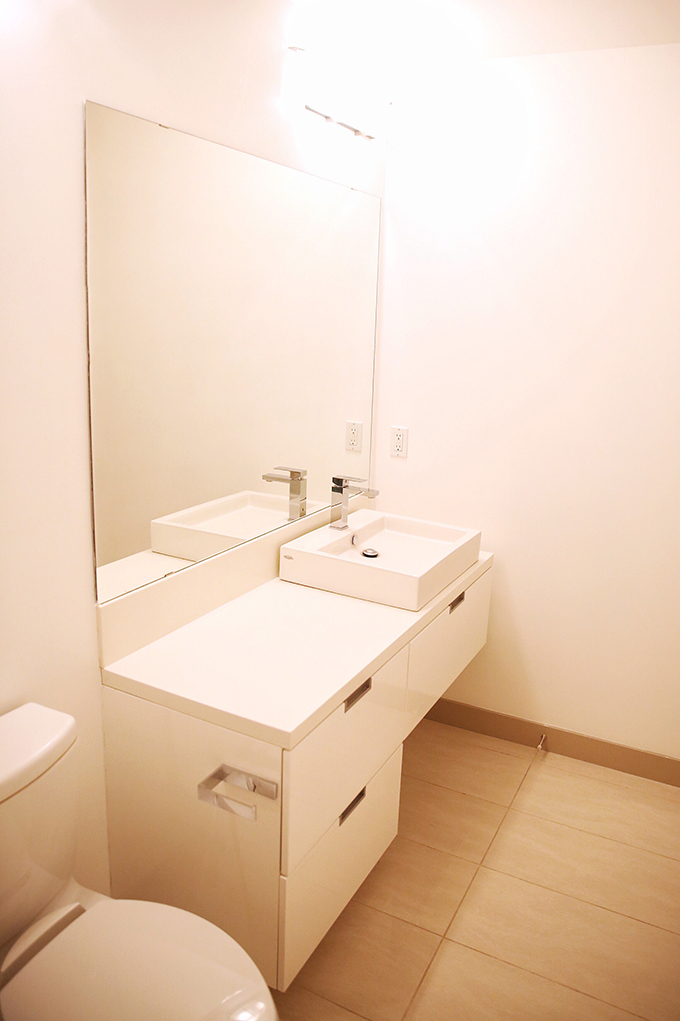
So, let’s start from the beginning! When the project commenced, I knew I wanted to match our paint to our kitchen / bathroom cabinets and quartz counter tops, which are a bright, neutral white. I’ve always been a fan of white walls — my creative mind (did you know I went to art college?) likens white walls to a perfectly blank canvas! Clean white walls make a fantastic, neutral backdrop for any style of decor you could imagine — the possibilities are truly endless. It’s funny — now that we’re finished, I feel like the apartment was always meant to be white!
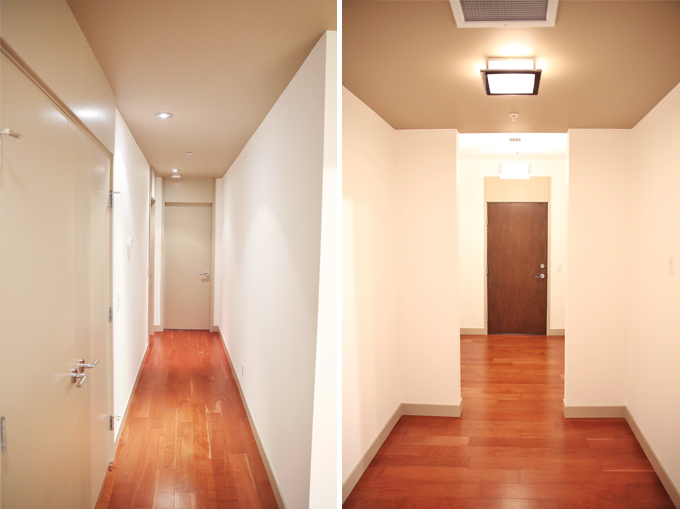
Since our trim, doors and built-ins matched the existing greige wall colour, we had to decide what to do with them. To be honest, at first I wanted to paint them white too — but because of the size of our space, that would have been a crazy amount of work and something we would have contracted (the doors and built ins were spray painted!). So, I took to Pinterest to find a visual of what it could look like if we left them. I stumbled on this pin about contrast trim trending and how mushroom hues were making a comeback (now, in 2018, brown hues are even more prevalent in interior design, so I don’t regret our decision one bit!). I really how the ‘mushroom’ trim looked with the white walls and brought an earthy note to the space, so we decided to leave the trim and doors — and take the paint job on ourselves!
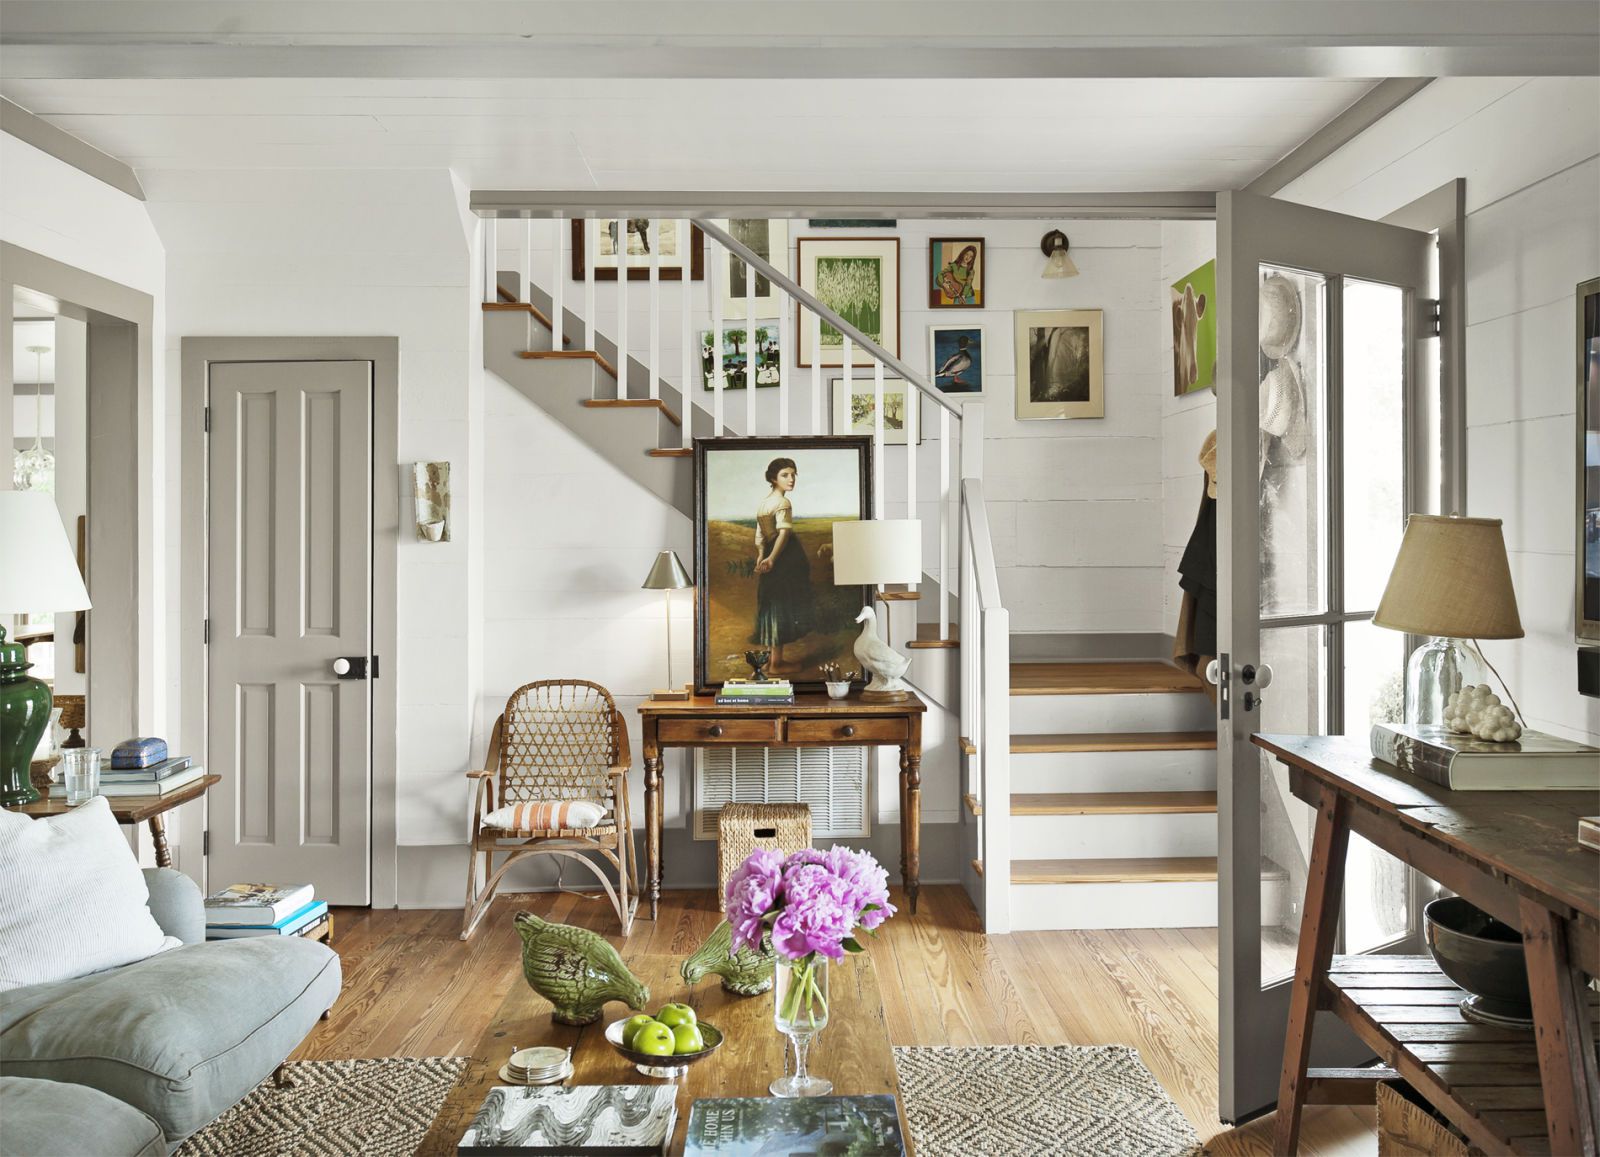
Mushroom contast trim inspo via Country Living
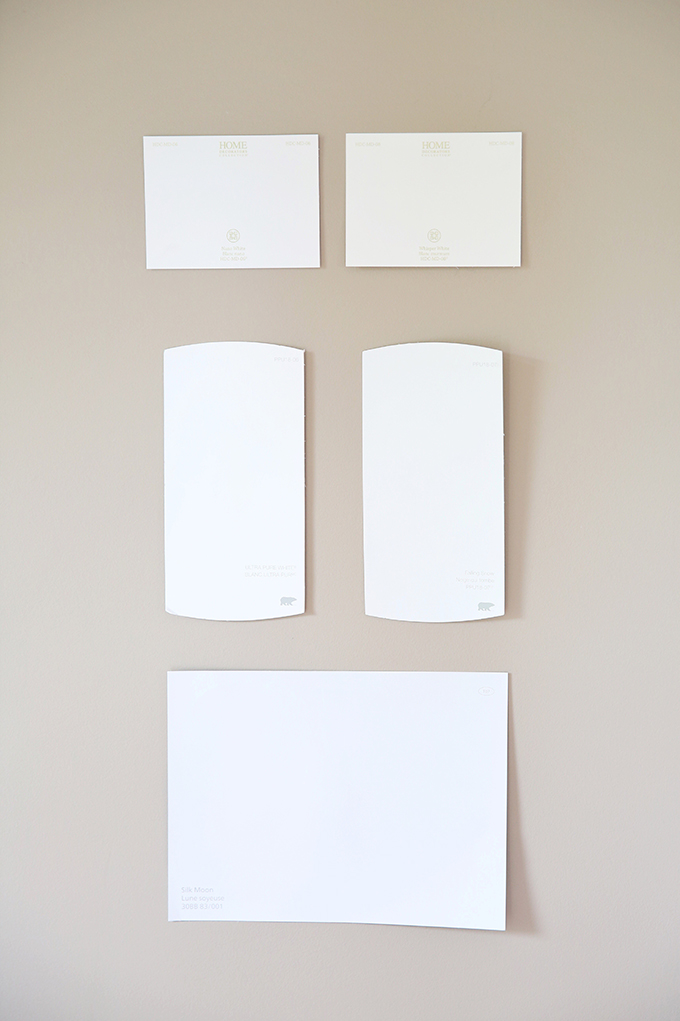
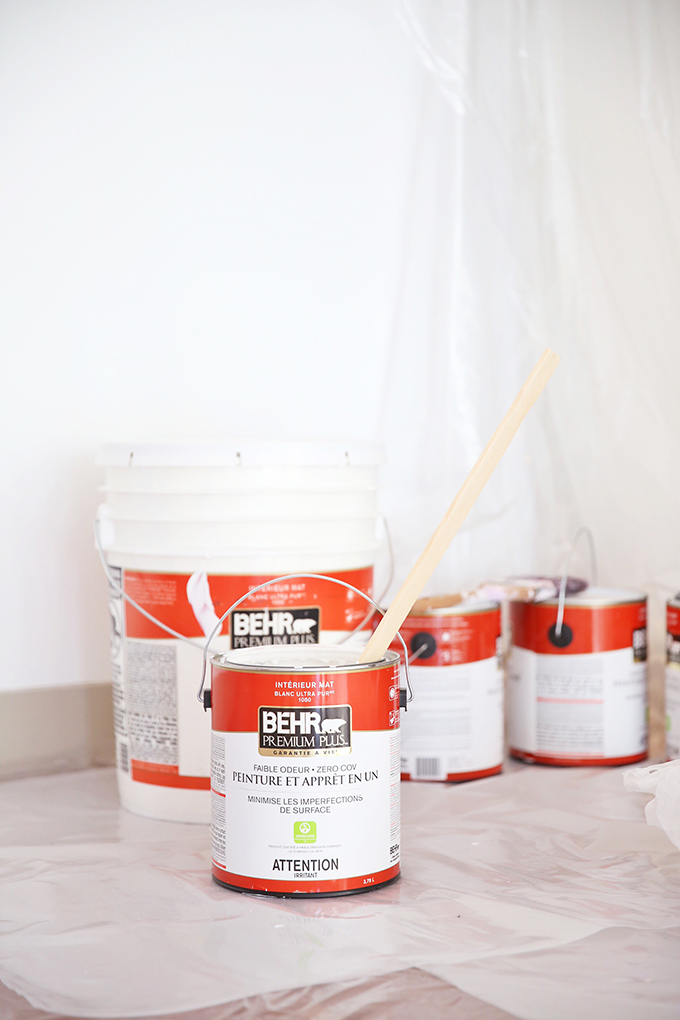
We selected Behr’s Ultra Pure White to match our kitchen (which happens to be their base colour for any mixed colour) in a flat finish — but not without a few hiccups! Initially, when I went to pick up our paint (in true JustineCelina fashion I waited for a 30% off sale, of course!) the sales associate really dissuaded me from purchasing flat white paint. Our apartment is only 6 years old and very contemporary in design — I was pretty sure the existing paint colour was flat, as there was no sheen at all on the walls, even from an angle. Although I disliked the colour, I loved the finish. She mentioned how difficult flat white paint is to keep clean and that it’s an unpopular choice, especially for a main living area and kitchen. So, I trusted her advice and went with Behr’s Ultra Pure White in an eggshell finish.
As we were prepping the space later that night, my Mom (who’s a master painter and helped us with this entire process — bless her!) suggested that I paint a test patch of the eggshell finish on the wall before we started in the morning to make sure I liked it. On Saturday morning I checked my test swatch and it turns out my hunch was right — the existing walls were indeed a flat finish and eggshell was way too shiny. So, I ended up back at Home Depot, exchanging all the eggshell paint for Behr’s Ultra Pure White in a flat finish. Painting Lesson 1 — know what you’re looking for and trust your instincts! Professionals are there to help, but ultimately you know what suits your preferences best, even if it’s not the norm (side note: with my trusty Magic Eraser, I don’t find the walls difficult to maintain at all!).
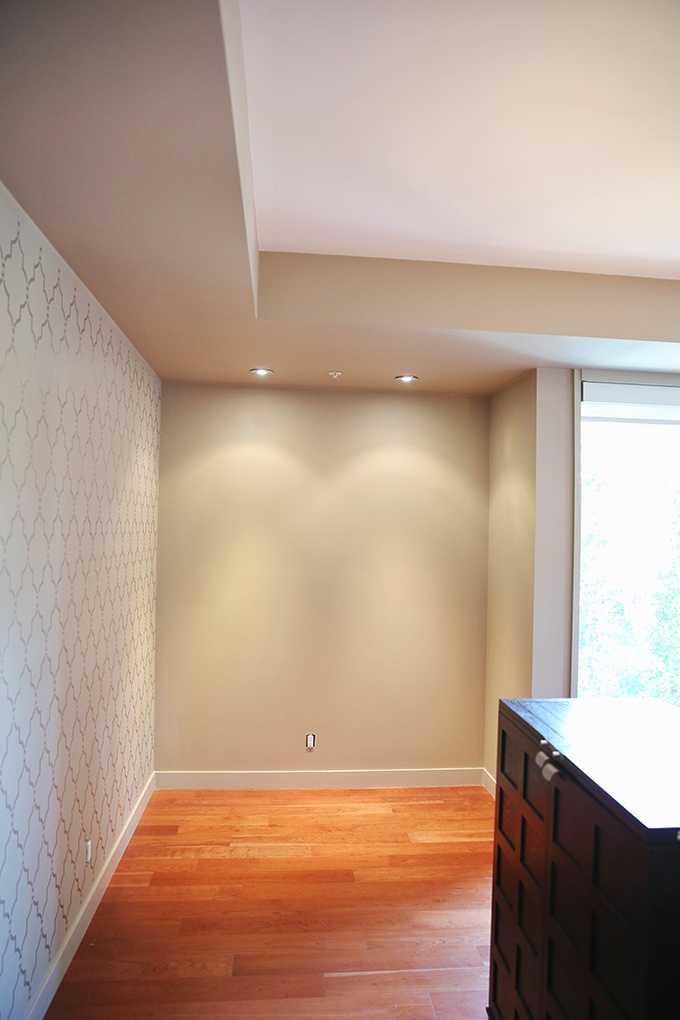
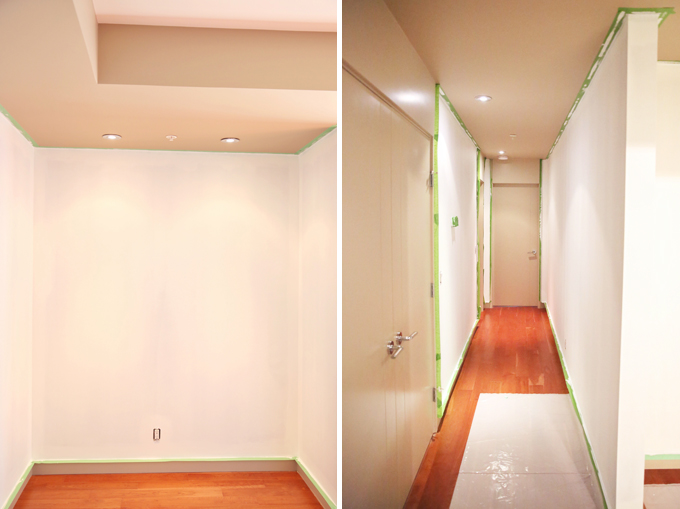
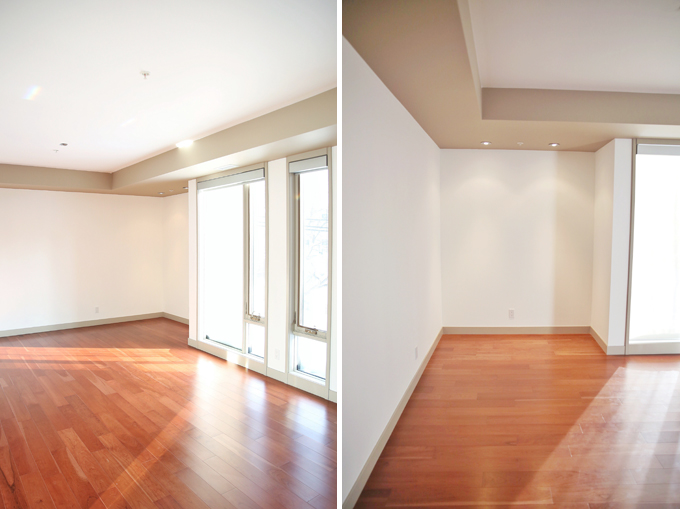
Another consideration for the project was our tray ceiling trim. Initially, I wanted it white to start with — but, as we moved through the process and I realized how tedious the process of painting it would be (it runs through the hallways as well!), the idea of embracing it slowly became more appealing. Adam really wanted to leave it greige and I wanted to paint it (renovations and decor are all about compromise!) — so we decided to paint the walls, leave the tray ceiling trim and see how it looked. After the walls were painted, I actually ended up really liking the contrasting dropped ceiling — I think it adds a unique design element to the space and calls attention to the different ceiling heights. I love how it ties in all the trim and doors as well. Plus, I knew I wanted to weave in some mushroom decor elements to bring the space together (more on that coming in our Living Room Reveal!).
One last important piece of advice for the paint selection process: purchase almost twice the amount you think you’ll need based on square footage calculations if you’re covering a mid-tone or dark colour. There’s nothing worse than having to run out to grab more paint in the middle of your second coat — and then risk colour differences in the different batches (since we didn’t need any mixing, we lucked out there!). I did end up having to make a second paint run and we had a couple of cans leftover, which is the ideal scenario. We purchased all of our paint at Home Depot and their return policy is fantastic! Anything we didn’t use, we returned — no questions asked!
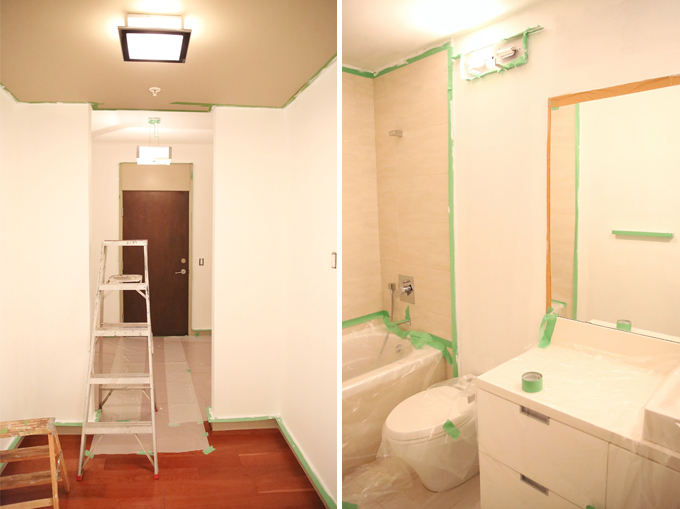
Painting Preparation & Process
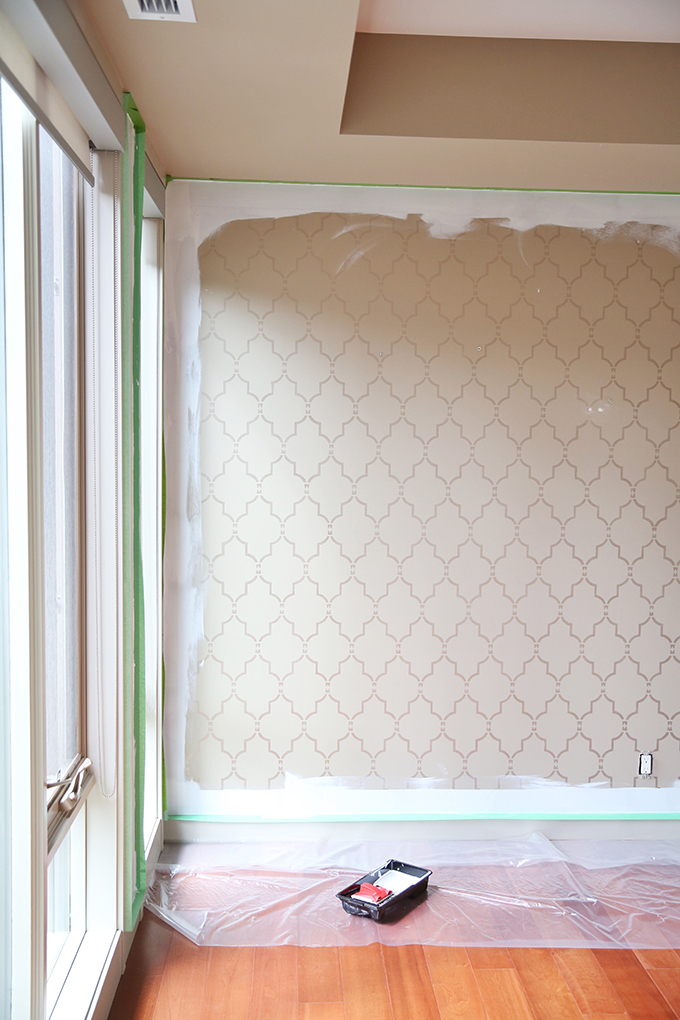
To ensure a successful painting project, good prep work is key. We always prepped our spaces on a Friday evening after work over a bottle of wine, which worked really well for us. We took down art, moved furniture and decor to other rooms, taped trim and ceilings (wide painters tape was a lifesaver!), patched holes in walls and draped surfaces. Having a nice, prepped, clean space to start painting in on Saturday morning made the process much more enjoyable!
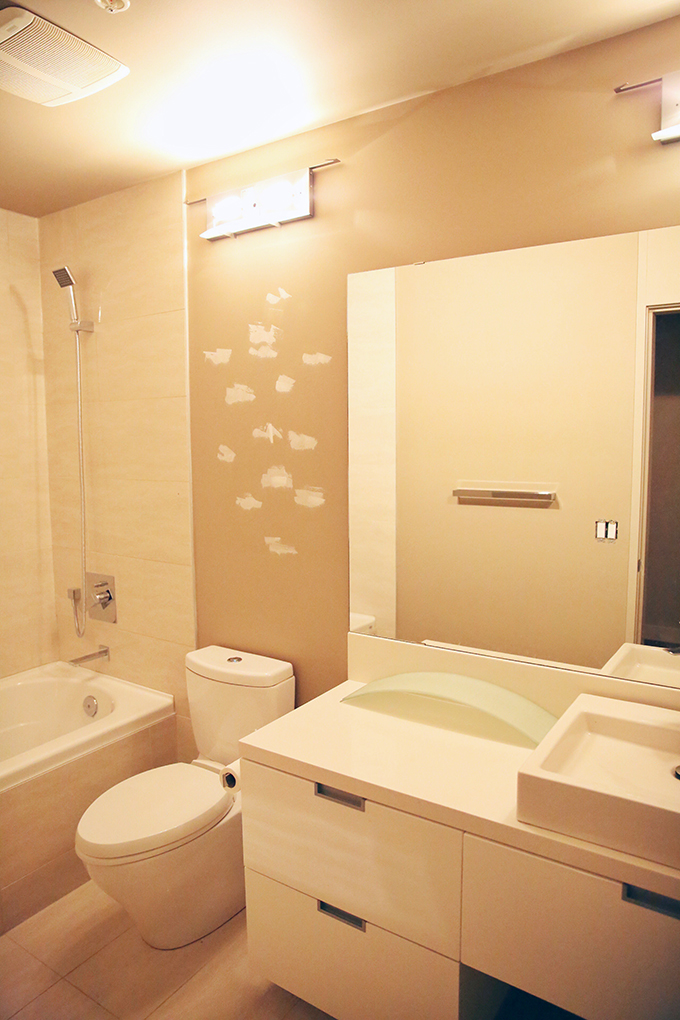
In the mornings before we got started, we’d sand any areas we patched to ensure they were totally smooth, then removed the excess dust from the walls with a damp cloth.
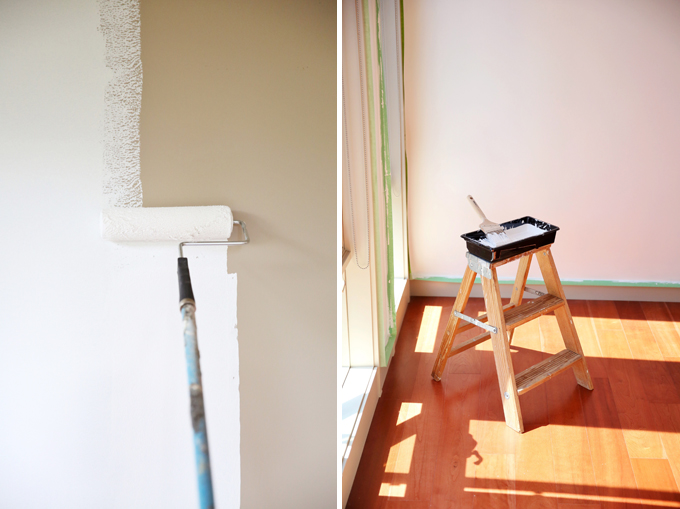
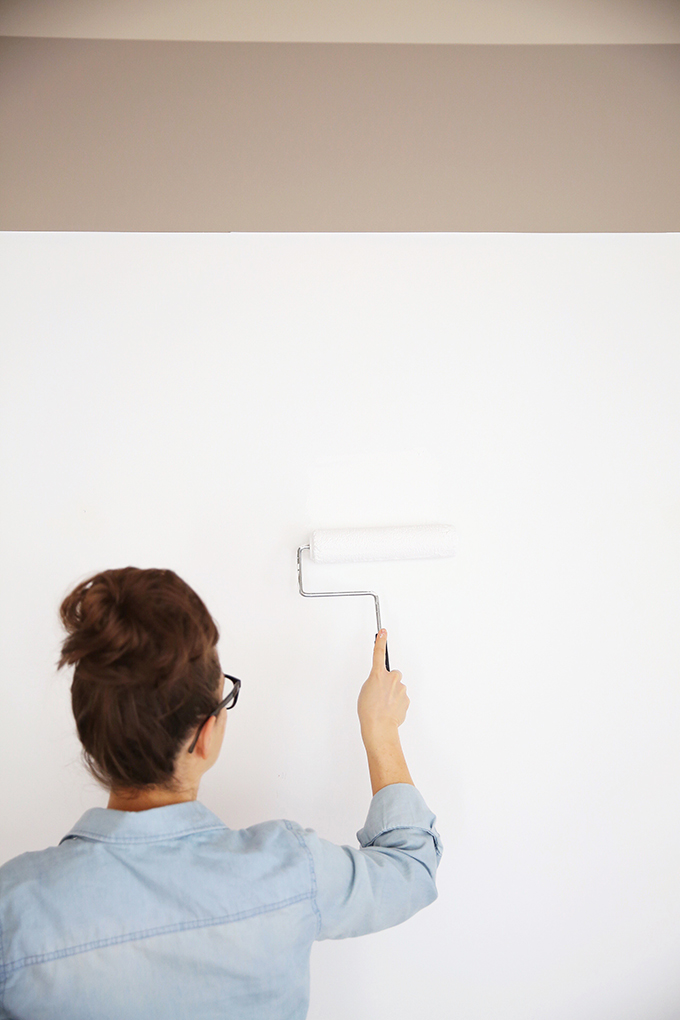
When we started this project, I hadn’t painted a space in a few years, so I was a bit rusty! At first, I trimmed with an edger. As we moved through the process, I learned that the edger created a very thin coat and I made more mistakes with it. What worked best for me was to cut in with an an angled brush — I had more control and I could apply a thicker coat of paint.
We found it worked best if one person trimmed and the roller came right behind behind them to avoid the trim drying before the walls were painted. Typically I’d finish a wall or large enough section that the second person could comfortably come behind me with a roller.
We ended up needing 4 coats of trim (although I think it could have been 3 if I used a brush from the beginning) and 3 coats on the walls — which was way more than I was expecting! But after chatting with a lot of you over on Insta Stories throughout this process, I learned 3 or even 4 coats of white paint was actually pretty common when covering a mid toned wall colour. We also applied the thickest coats possible and the walls really soaked it up! I think that may have something to do with us painting over a flat finish with flat paint — flat paint is definitely more porous than eggshell or gloss.
We finished 2 coats per day — and I think prepping our space the night before definitely made that possible! After we were finished, we’d wait at least 24 hours to remove the tape. Especially with so many coats of paint on the walls, it’s important to give your paint adequate dry time to ensure you have the cleanest lines possible!
Painting the Ceiling
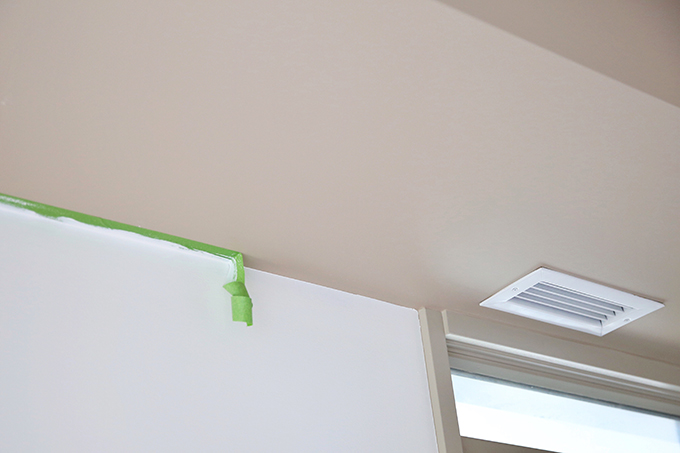
By far, the most tedious part of the entire process was painting the ceiling — especially since I always thought it was white and we wouldn’t need to paint them at all! After we were finishing painting the walls, it was very apparent that the ceiling was actually a very light, warm taupe. Leaving it like that wasn’t an option (I’m way too OCD to let that fly) — so we actually painted the ceiling just last month, 1 week before our new furniture arrived — which worked out perfectly! Thankfully by that point, I had sold the majority of our furniture to make way for our new arrivals.
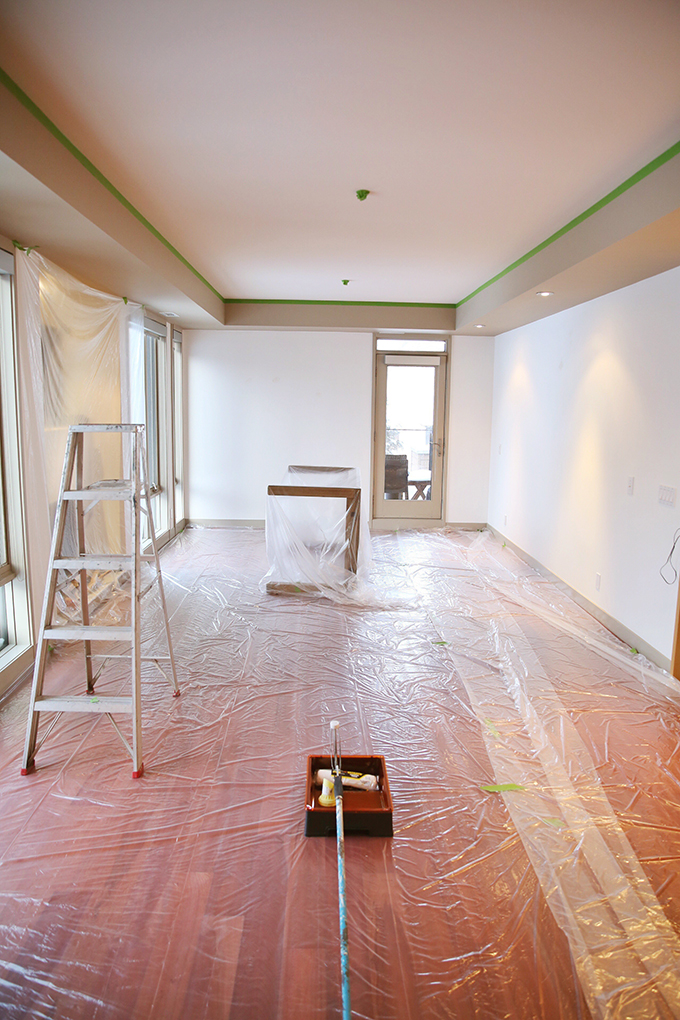
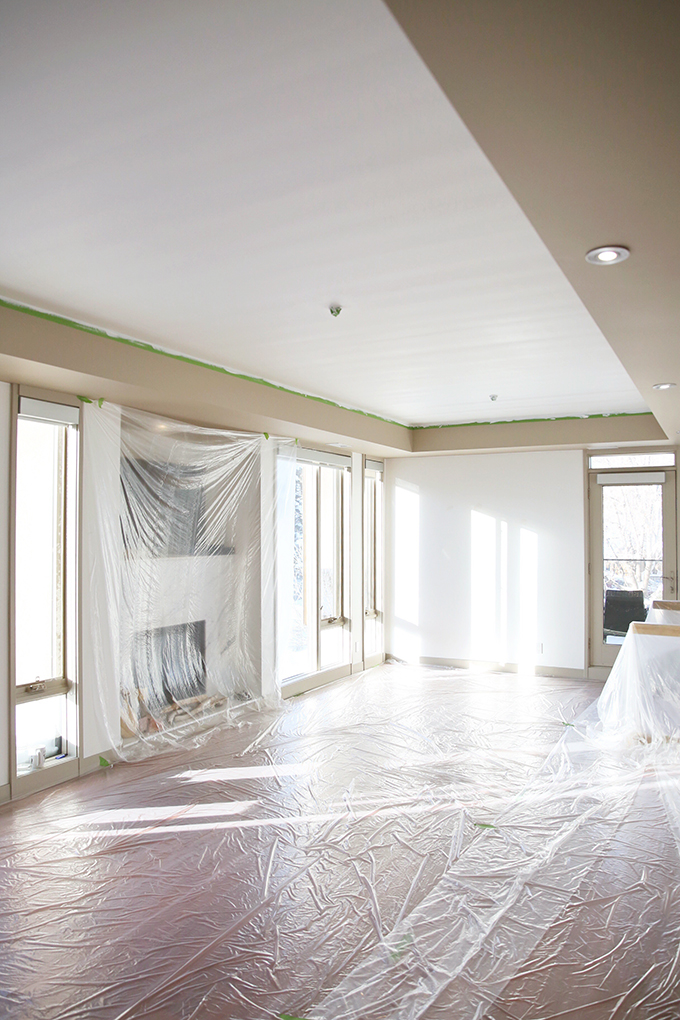
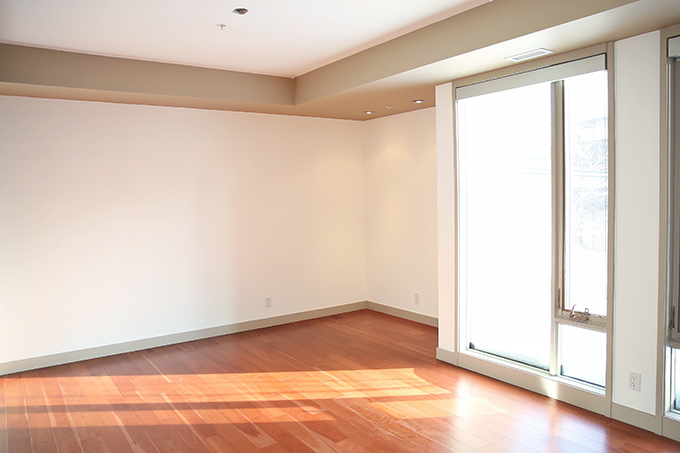
When you’re painting ceilings, my biggest piece of advice would be to move everything possible out of the room to make the process faster and less frustrating. There’s nothing worse than tripping over furniture and decor while you’re painting! Even if you live in an apartment like we do and space is tight, move as many pieces as you can to other rooms (since we had already painted the high ceilings in the hallway and bathroom and had minimal furniture in those rooms, we moved our living / dining furniture out there!). Our dining room table is quite large and heavy, so we decided to leave it intact and work around it. We also removed our dining room chandelier, since I was sure we’d be replacing it anyway. We taped around the sprinklers and the track lighting in the kitchen at the same time we taped off the tray ceiling.
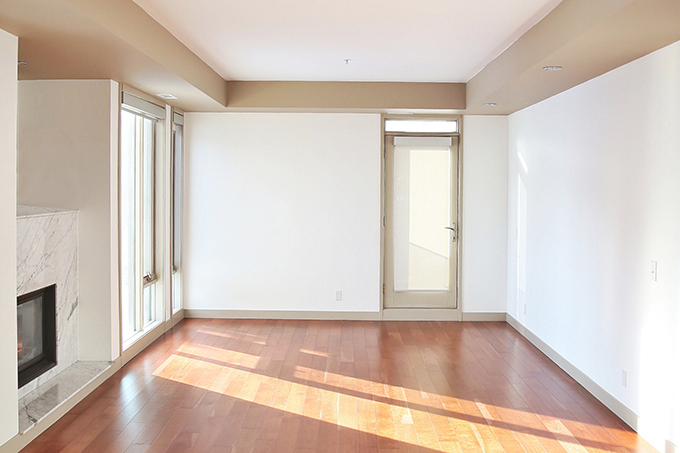
I’d also recommend covering the entire floor (and any built ins like fireplaces or shelves) in a plastic drop cloth, along with any other large furniture pieces you may have to leave in the room. Accidents happen and I guarantee you’ll end up with paint on the floor during the process no matter how careful you are — it’s always better to be safe than sorry! Be sure to tape the plastic on the floor down well to prevent slipping.
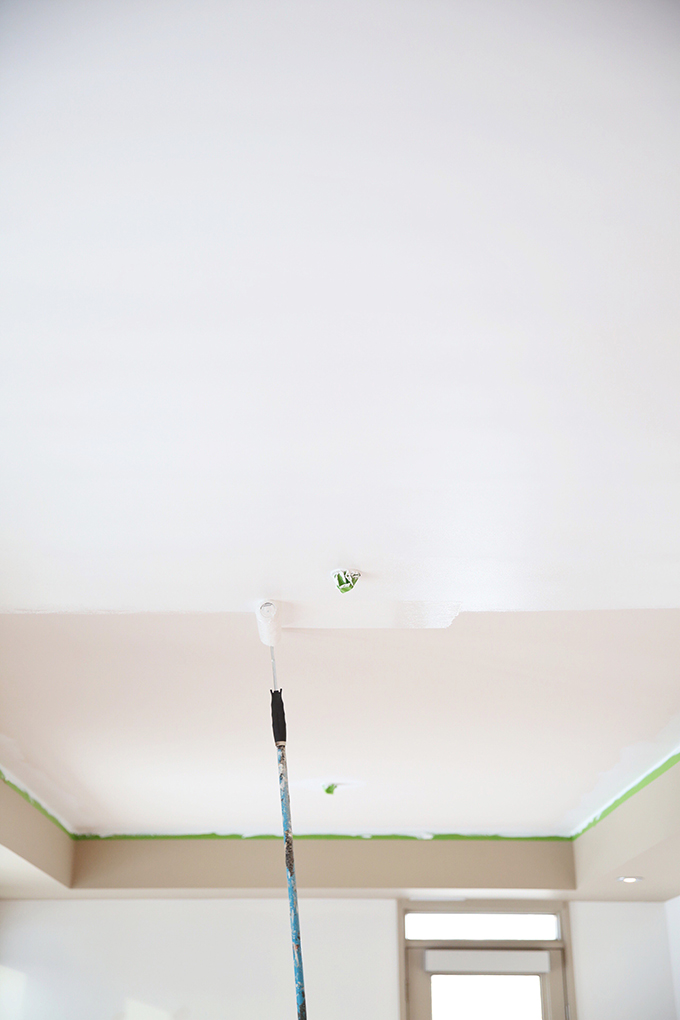
Our ceiling was a much lighter colour than the walls, so 2 coats of both trim and paint was enough (thank goodness!). Because our room is so long, we decided to roll the width of the room — since creating even roller lines down the entirely of the room would be next to impossible. By this point in the process we were veterans and it actually went quite smoothly — although we were definitely sore the next day and I literally found paint in my hair for the next week!
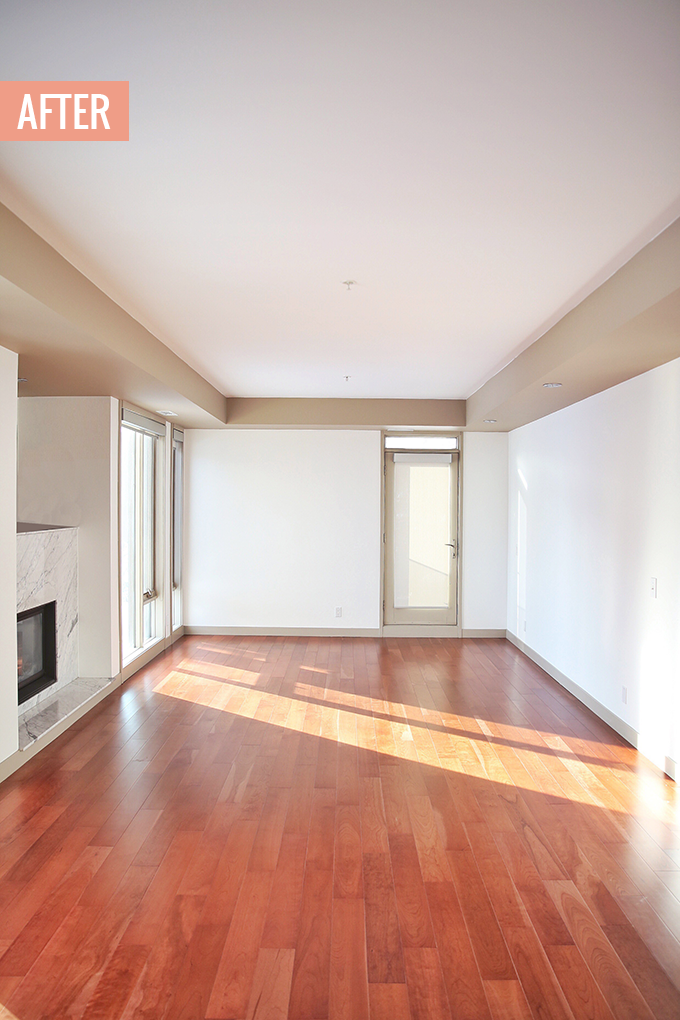
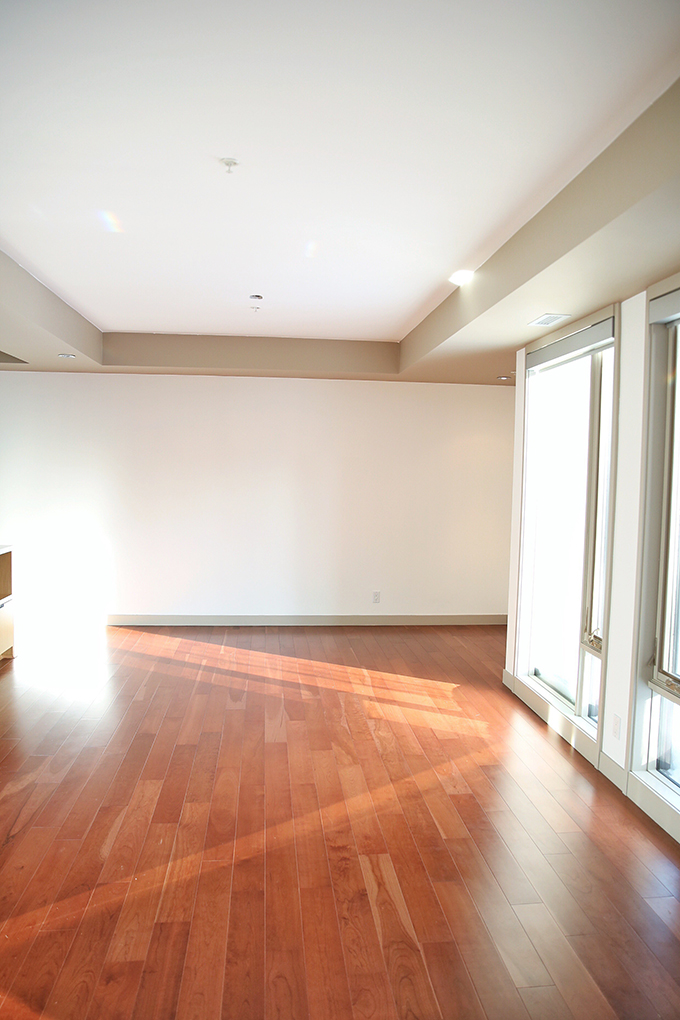
After & Project Cost
Overall, I’m extremely happy with our results and savings. It was a lot of work but the lighter, brighter walls make out home feel so much larger and cleaner, plus I know the return on investment will be worthwhile if we decide to sell in the future. Although we still have the office, master bedroom and master suite to do (probably this summer!), a DIY paint job is definitely manageable when you work in sections and with a team!
The estimate we received from the painter came in at $2300 for the entire 1500 square foot apartment. The total cost of paint, tools and supplies for the main living area, kitchen, dining room, entrance ways, halls and main bathroom came in at $602.96 — including the 30% rebate on the paint through Home Depot’s Buy More Save More Event for a total savings of $155.88.
I estimate we’ve painted approximately 2/3 of the total square footage — and that we’ll be able to paint the entire space for around $900, which is less than half of the estimated cost. The project took us 2 weekends (essentially 4 full days) to complete with 3 people. DIYing this project allowed us to invest the money we saved on new furniture, light fixtures and decor — and I’d absolutely do it again!
SHOP THE POST
Thanks for stopping by today to check out our paint transformation, friends! I hope you found this post helpful if you’re thinking of embarking on a painting project of your own — you can absolutely achieve professional results with a little hard work, attention to detail and patience. If you like, you can also follow along with my Home Pinterest Board for more interior inspiration, or the JustineCelina Home board where I’ll be pinning our refreshed spaces and other DWELL content as it rolls out. As always, if you have a question for me, just leave me a comment, shoot me an email message and I’ll do my best to help you out! Enjoy the rest of your week, everyone — I hope you’re as excited about our SPACE REFRESH series as we are (our Living Room Reveal is now live — hop over here to check it out!).
Thank you to My Domaine for featuring our recently painted Living Room in their Bloggers Can’t Get Enough of These 5 Timeless Paint Colors article.
Disclaimer: This post is not sponsored and contains my genuine thoughts, ideas and recommendations. JustineCelina uses affiliate and referral links, which allow me to receive a small commission when you make a purchase through one of my links. Thank you for supporting the brands and businesses that support JustineCelina.com!


18 Comments
I am amazed at your painting skills! The only things I paint are waterc0lors on paper, not even canvas 🙂 . Loreto is the master renovator and he would like to see the great job you did. I’ll tell him to head over! Your space looks bright, fresh and clean. And the money you saved will be used to buy some nice stuff 😉 .
Thank you, Nicoletta! Although it was so much work, I actually love painting. It’s so satisfying! Our Living Room Reveal is up now if you’d like to see how we finished the space. We’re so happy here!
It’s amazing how different your living room looks after being painted! You’re inspiring me to rethink my space.
Isn’t it crazy? It feels about 10 times larger as well. Our Living Room Reveal is up now as well if you’d like some more inspiration, Charlotte. Thanks for stopping by!
I’m excited to follow along with this series! We had a flood in our basement this past week, so we’ve ended up in the middle of an unexpected reno . Your newly painted space looks great!
Oh no! While that’s not an ideal situation, at least it’s an opportunity to refresh things. I hope your renos go smoothly and you’re able to be back in your space soon, Natalie. Our Living Room Reveal has now published if you’d like to pop over for more inspiration. Wishing you the best of luck with your basement!
[…] that authentic, functional design takes time — especially in your own home. Once we had a fresh coat of paint up, we decided to start redesigning our living room first — the largest space in our […]
[…] for me — but in the best way possible! From kicking off our SPACE REFRESH series with our Paint Transformation and Living Room Reveal, to working on the next spaces in the series, to my first SMP Living […]
[…] (if you’re curious about our wall or accent colours, you can read more about them in our Paint Transformation post!). Then, I started searching for driftwood — and luckily I have a pretty amazing source! […]
[…] Space Refresh | Paint Transformation […]
[…] While we’ve been refreshing our space since last summer (when we embarked on our huge Paint Transformation!), most of our time was spent gathering inspiration for the Living Room, as we almost completely […]
[…] Space Refresh | Paint Transformation […]
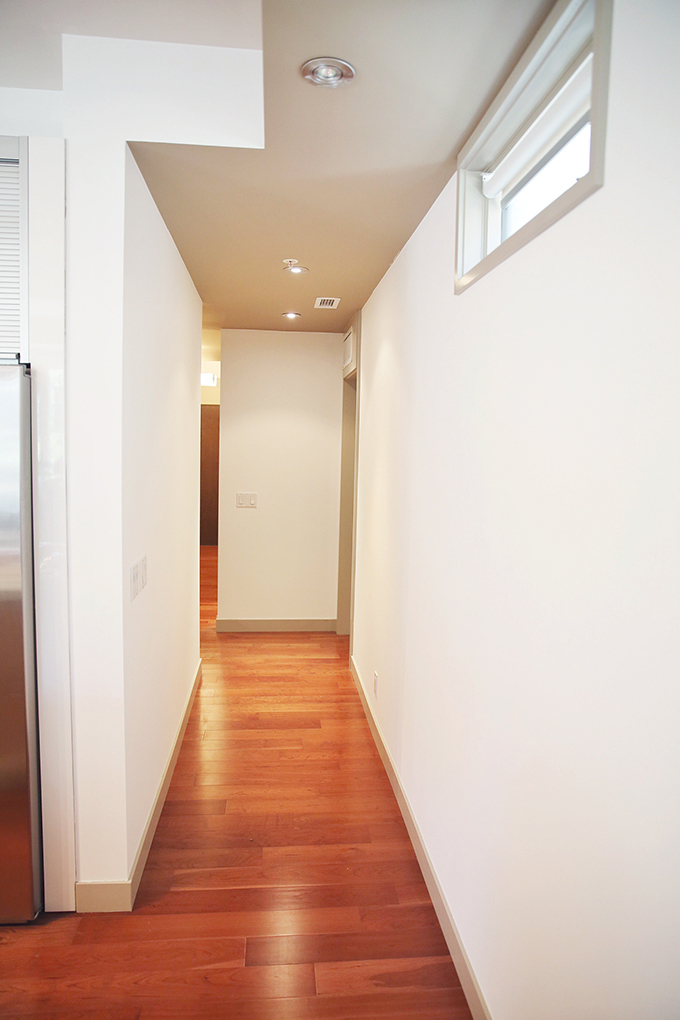
[…] hallway. You can see the original photos of the Entrance Way, before an after painting, here, and my moodboard for the space here. I cannot wait to share the finished space with […]
[…] into our dream home after deciding we wanted to stay rather than sell — starting with a fresh coat of paint. The walls were a heinous, gloomy builders greige, which made our already choppy, dimly lit […]
[…] (hop over to that post for a major throwback, when the whole apartment was horrible builders greige we painstakingly covered during the summer!) but we never really used that area, even when we entertained. As a secondary […]
[…] Space Refresh | Paint Transformation […]
[…] started the process of refreshing our 6 year old apartment and creating our dream home. First up was a fresh coat of paint, followed by a major purge, reorganization and selling of old furniture and decor, before starting […]
[…] Space Refresh | Paint Transformation (Winter) […]